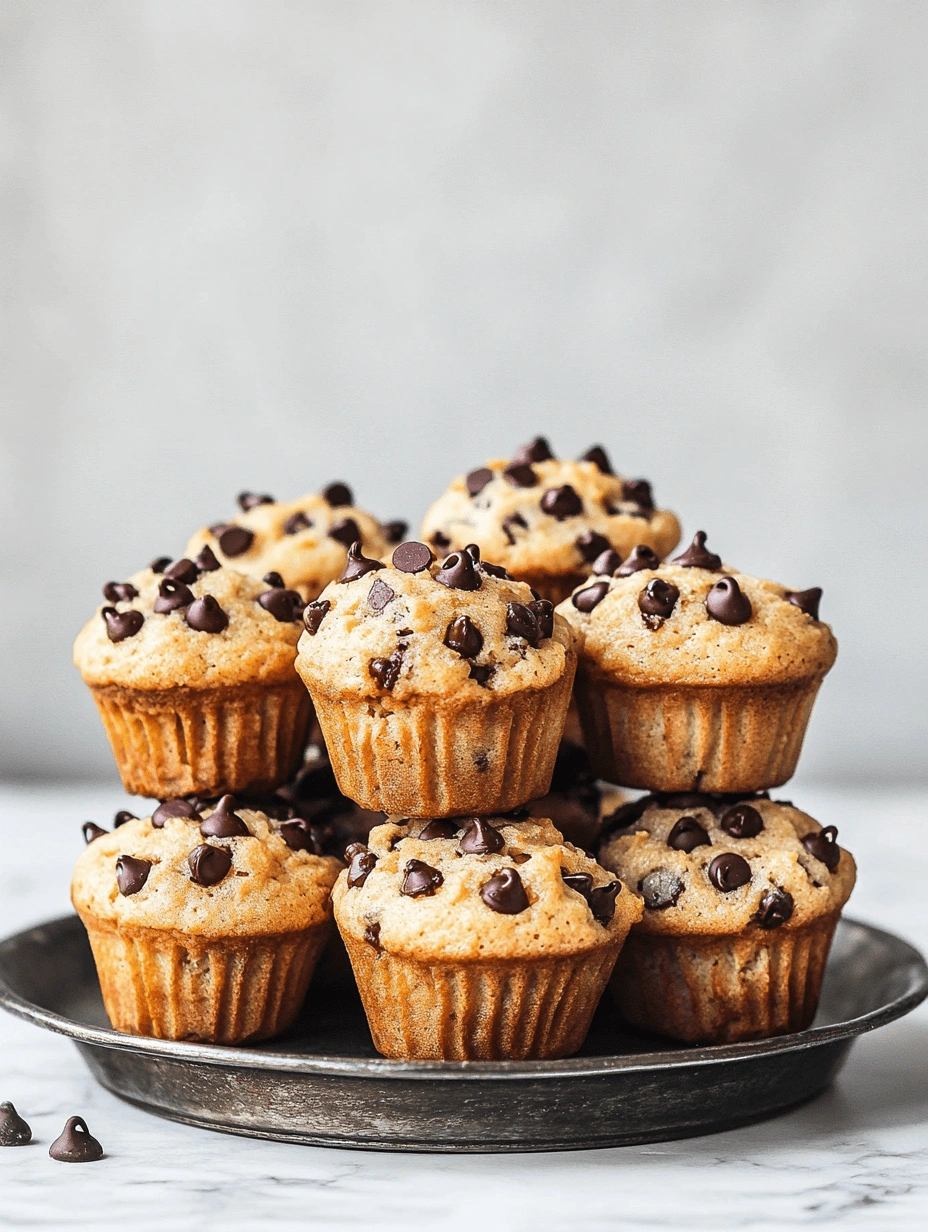
Mini chocolate chip muffins are one of those sweet little joys that never last long in our house. Soft, fluffy, and dotted with just the right amount of chocolate, they’re the perfect size for snack time, lunchboxes, or a cozy afternoon treat. I started making these when my kids were little, and they quickly became one of our go-to recipes—easy to whip up, freezer-friendly, and loved by everyone from toddlers to grandparents.
Over the years, they’ve made their way into school bags, road trip coolers, and weekend brunch tables. They’re sweet but not too sweet, and they bake up in just the right size for little hands (and sneaky grown-up snacking, too).
If your kitchen could use something soft, simple, and chocolate-studded today, let’s make a batch together.
Table of Contents
Table of Contents
Why You’ll Love These Mini Chocolate Chip Muffins
These mini chocolate chip muffins have a way of becoming a quiet favorite. They’re soft, tender, and bake up perfectly bite-sized—just enough to satisfy a sweet craving without going overboard. But what I love most? They’re the kind of treat you can make on a whim, no fuss, no fancy steps.
Here’s why they’re always a win in our kitchen:
- Quick and simple to make – You can have them mixed and in the oven in under 15 minutes.
- Perfect for little hands – Just the right size for toddlers, lunchboxes, or quick snacks.
- Lightly sweet and chocolatey – Not too sugary, with the perfect sprinkle of mini chocolate chips.
- Freezer-friendly – Make a batch ahead and pop them in the freezer for busy mornings.
- Family-approved – From picky eaters to coffee-loving grown-ups, everyone grabs one (or three).
Ingredients for Mini Chocolate Chip Muffins
Here’s what you’ll need to make these soft and cozy mini chocolate chip muffins. Nothing fancy—just good, simple ingredients you probably already have in your pantry.
1 ½ cups all-purpose flour
1 teaspoon baking powder
½ teaspoon baking soda
¼ teaspoon salt
½ cup unsalted butter, melted and slightly cooled
½ cup granulated sugar
¼ cup light brown sugar (for a little extra warmth and softness)
2 large eggs
¾ cup plain Greek yogurt (adds the perfect bit of moisture)
1 teaspoon vanilla extract
¾ cup mini chocolate chips (plus a few extra for the tops, if you like)
Helpful Ingredient Tips for Mini Chocolate Chip Muffins
Flour: All-purpose works perfectly here. If you’d like to make them gluten-free, I’ll share a trusted swap later in the post!
Butter: I melt it ahead of time and let it cool just a bit—it makes mixing quick and easy.
Yogurt: Greek yogurt keeps the muffins tender and gives that bakery-style texture. You can use sour cream in a pinch!
Mini chips: They’re just right for these little muffins. You get a little chocolate in every bite without overwhelming the batter.
How to Make Mini Chocolate Chip Muffins
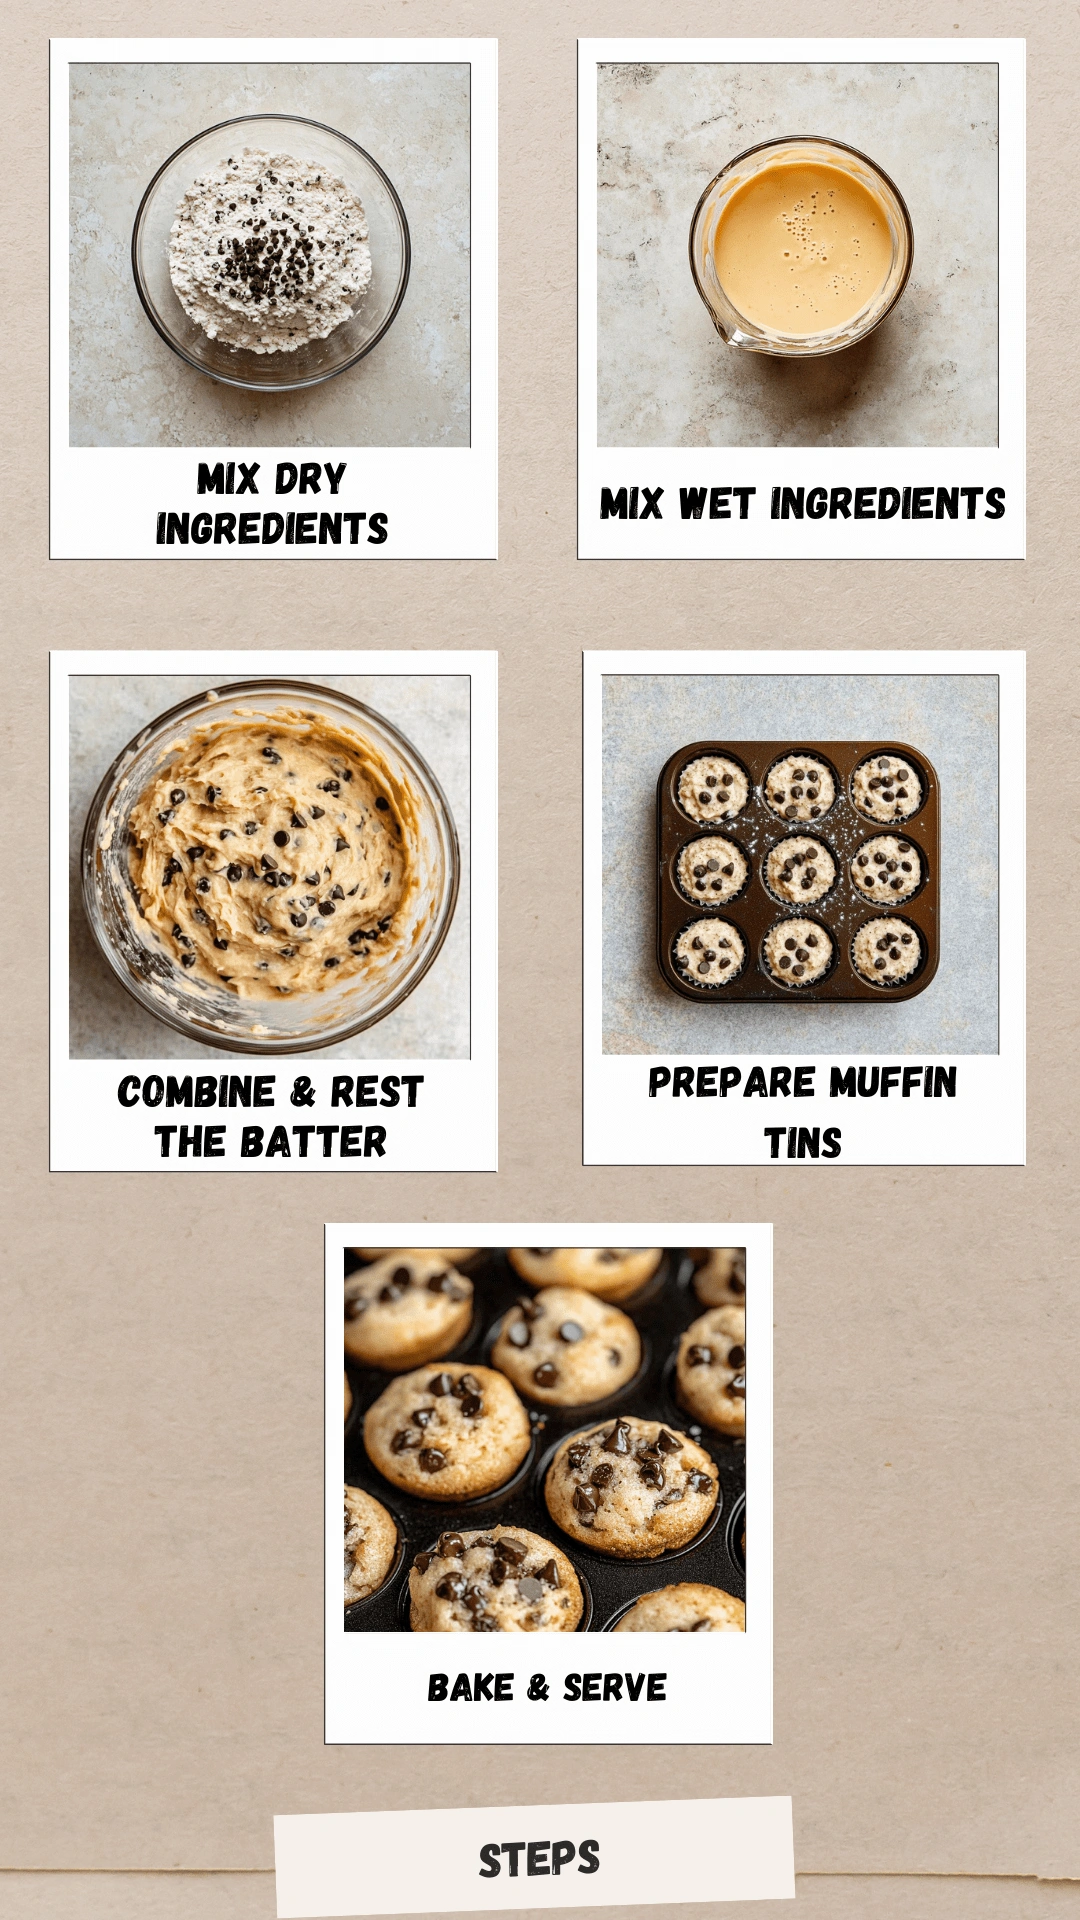
- Preheat your oven to 350°F (175°C). Lightly grease a mini muffin tin or line it with paper liners.
- In a medium bowl, whisk together the flour, baking powder, baking soda, and salt. Set it aside.
- In a separate large bowl, stir together the melted butter, granulated sugar, and brown sugar until smooth. Add in the eggs, Greek yogurt, and vanilla extract, mixing until everything is well combined.
- Gently fold the dry ingredients into the wet mixture. Mix just until no dry streaks remain—be careful not to overdo it.
- Stir in the mini chocolate chips, saving a small handful to sprinkle on top before baking if you’d like.
- Spoon the batter into the mini muffin cups, filling each about three-quarters full. Top with a few extra chocolate chips if you want a little extra sweetness on top.
- Bake for 10 to 12 minutes, or until the tops are lightly golden and a toothpick inserted into the center comes out clean or with a few soft crumbs.
- Let the muffins cool in the tin for a few minutes, then transfer them to a wire rack to cool completely—or enjoy one warm if you just can’t wait.
Tips for the Best Mini Chocolate Chip Muffins
- Don’t overmix the batter.
A few lumps are perfectly fine. Overmixing can make your muffins dense instead of soft and tender. - Use mini chocolate chips.
They give you a little bit of chocolate in every bite without overwhelming the muffin. Regular chips tend to sink or clump. - Spoon the batter gently.
Filling the muffin cups about three-quarters full gives you the perfect rise without overflow. - Don’t overbake.
Check them at the 10-minute mark. You want just golden edges and a soft center—a toothpick should come out with a few crumbs, not dry. - Let them cool before storing.
Warm muffins in a closed container can get sticky. Let them cool completely on a wire rack before storing or freezing.
Alternative Options for Dietary Needs
One of the things I love most about these mini chocolate chip muffins is how easy they are to adjust for different needs. Whether you’re baking for a classroom, a playdate, or just trying to keep things a little lighter, here are a few ways to make them work for your family:
- Gluten-Free:
Use a good quality 1:1 gluten-free baking flour. I’ve had the best luck with blends that include xanthan gum. The texture stays soft and tender, just like the original. - Dairy-Free:
Swap the butter for melted coconut oil or a dairy-free butter alternative. Instead of yogurt, use a plant-based yogurt like almond or coconut—it still gives that lovely moisture. - Egg-Free:
You can try using a flax egg (1 tablespoon ground flaxseed + 3 tablespoons water) for each egg in the recipe. Applesauce can work in a pinch too, though the texture will be a little softer. - Reduced Sugar:
If you’d like to cut the sugar a bit, you can reduce it by about ¼ cup total and still end up with a deliciously satisfying muffin. You might also consider using coconut sugar for a more natural sweetness.
These little muffins are wonderfully flexible—just like a good family recipe should be.
Frequently Asked Questions About Mini Chocolate Chip Muffins
How full do you fill mini muffin pans?
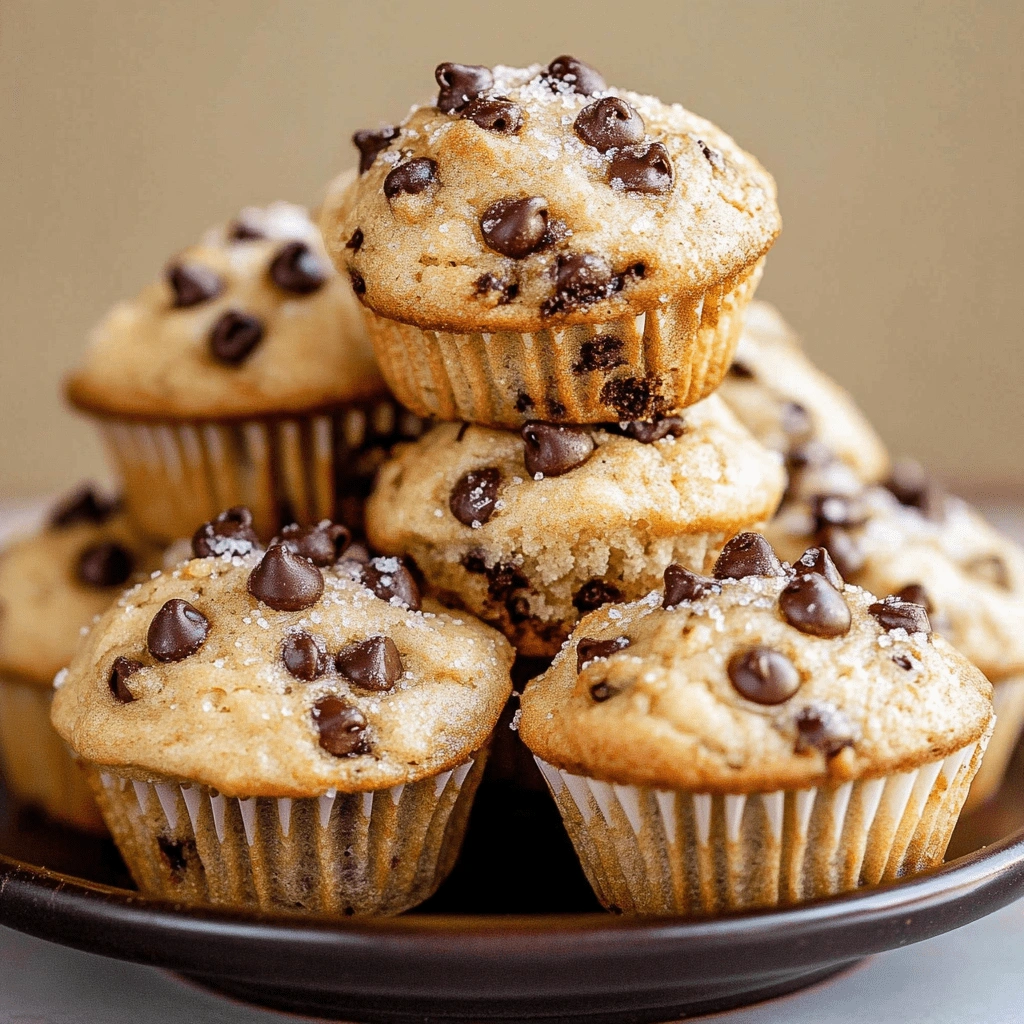
About three-quarters full is just right. That gives the muffins enough room to rise without spilling over. A small cookie scoop makes this step quick and neat—plus, it helps them bake evenly.
What makes Little Bites so moist?
A few things! In this homemade version, the key is using yogurt or sour cream, which keeps the muffins tender and moist. Melting the butter also helps, and not overbaking is essential—just until the tops are set and golden.
Do mini muffins need liners?
Liners make cleanup easier and look cute in a lunchbox, but they’re not strictly necessary. You can also grease the pan well with nonstick spray or a little melted butter. I do both, depending on what I have on hand.
What makes mini muffins moist?
It’s all about the balance of ingredients. The Greek yogurt adds moisture without making them heavy, and melted butter helps give that soft, rich texture. Also, don’t skip letting them rest a few minutes in the pan—they finish gently cooking and firm up just right.
How to Serve Mini Chocolate Chip Muffins
There’s something so comforting about having a tin of these little muffins sitting on the counter. They’re just the right size for nibbling, sharing, or slipping into a pocket for later (yes, we’ve done that).
We love them:
- Tucked into lunchboxes with a little note
- Served warm with scrambled eggs and fruit for a sweet breakfast
- Paired with something hearty like this gluten-free turkey meatloaf for a cozy, balanced meal
- Packed in a snack bag for park days or road trips
- Shared with a cup of tea on a quiet afternoon
They also make a lovely little addition to brunch tables, playdates, or after-school snack plates. However you serve them, they’re sure to bring smiles.
How to Store Mini Chocolate Chip Muffins
If your household is anything like ours, these don’t usually stick around for long—but if you do have extras, they store beautifully.
Let them cool completely first (I know it’s hard to wait), then tuck them into an airtight container.
- At room temperature: They’ll stay fresh for about 2–3 days. I like to layer a paper towel in the bottom of the container to keep them from getting too soft.
- In the freezer: They freeze like a dream. Just pop them into a freezer-safe bag or container and they’ll keep for up to 3 months. You can warm them in the microwave for a few seconds or let them thaw on the counter.
Having a stash tucked away feels like a little secret gift to your future self—especially on a busy morning or when someone sweet needs a treat.
From My Kitchen to Yours
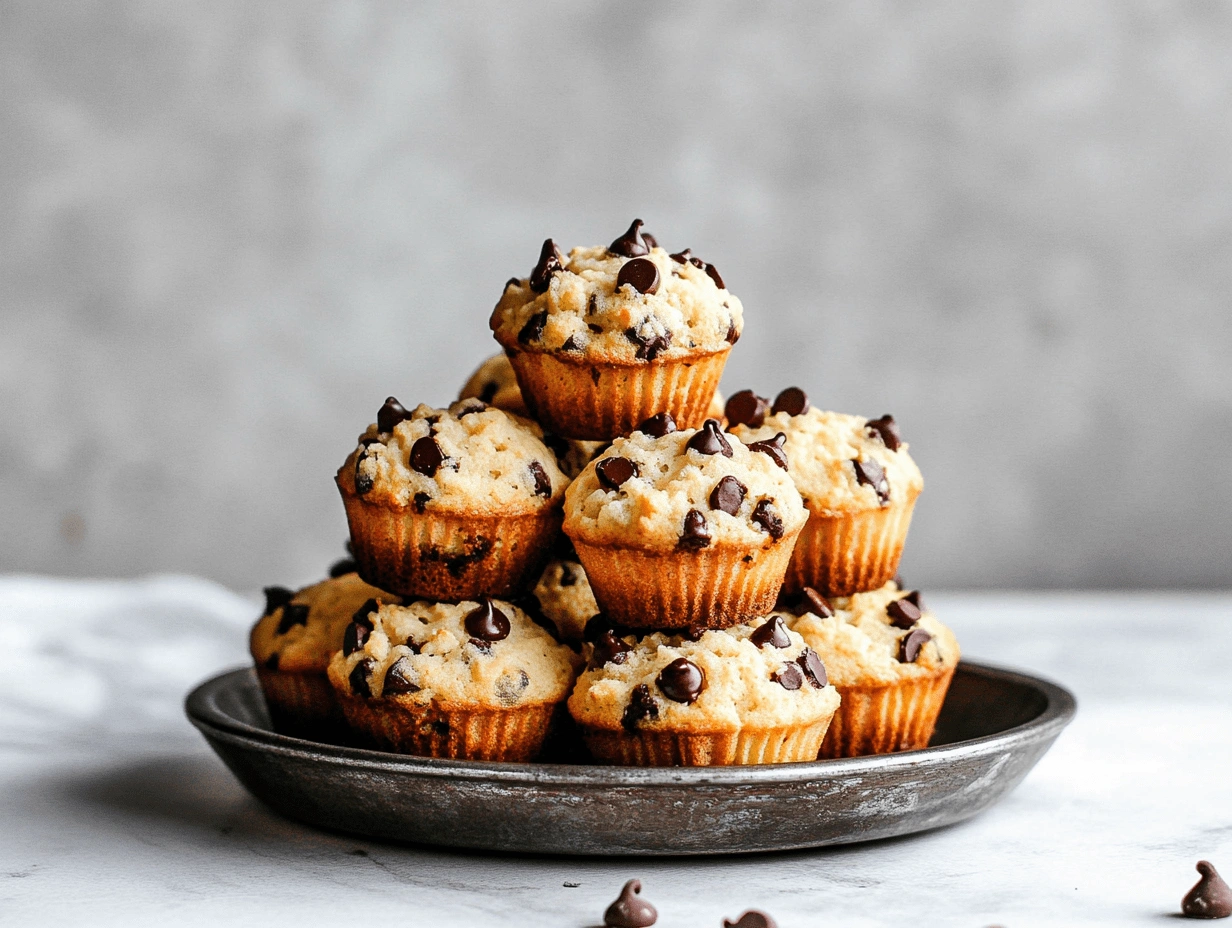
These mini chocolate chip muffins are one of our favorite little bakes—simple, sweet, and perfect for sharing. I hope they bring a bit of that same comfort and joy to your home, too.
If you’re looking for more tips on how to bake soft, tender muffins every time, this muffin guide is a great read.



5 thoughts on “Mini Chocolate Chip Muffins”